How to Properly Flush and Install a New Sprinkler Nozzle
Posted on March 5, 2019
 If your sprinkler system isn’t working as it should, you may have a broken sprinkler nozzle or built-up debris in the line. Either way, it’s a relatively easy fix with the right tools and the right know-how.
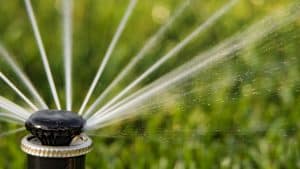
First, just below ground level, the nozzle retreats into its hiding hole when not in use. It is here that the system is most vulnerable to clogging with dirt particles or sustaining damage from, say, a lawnmower blade. Consequently, you’ll need to replace or flush the nozzle.
Flushing a Sprinkler Nozzle
Typically, a sprinkler nozzle can be cleaned relatively easily. It’s similar to cleaning a plumbing fixture of built-up sediment.
To start, you’ll need to remove the nozzle and screen on the sprinkler spray head. Then, install a flush cap in its place. You can run water through the system to fully clean the rotors. If the system is older, however, you may need to dig around the system to find the PVC riser with an attached head to ensure no dirt flows into the pipe during the flushing process.
Replacing a Sprinkler Nozzle
Now, if the sprinkler nozzle itself is damaged, you’ll need to replace it entirely. Follow these steps:
- Use a flat-head screwdriver to pry the lip of the sprinkler head up and out. Use clamp-locking pliers around the base of the pop-up sleeve to ensure the head remains raised.
- Unscrew the nozzle from the sprinkler head by grabbing the ribbed outer casing and rotating it in a counterclockwise movement.
- Pull the nozzle off and remove the filter screen. Here, you can insert a new filter and attach the new nozzle.
- Release the pull-up tool turn the sleeve in the proper direction and insert it back into the housing.
If you’re having trouble flushing your system or replacing the sprinkler nozzle, be sure to call your local Andy’s Sprinkler, Drainage & Lighting!